Getting Started

Getting Started with FlecBase

Your complete walkthrough — from first login to generating your first PDF report. Follow each step in order and you'll have a working system in under 30 minutes.

Sections

⏱ Estimated time: 20–30 minutes

This guide walks you through the core FlecBase workflow: registering your account, installing the mobile app, creating records for your people, organisations, and assets, linking them together, attaching files and notes, running a prestart check, and generating a PDF report.

By the end, you'll understand how FlecBase connects your field team with your office — from the yard to the CRM.
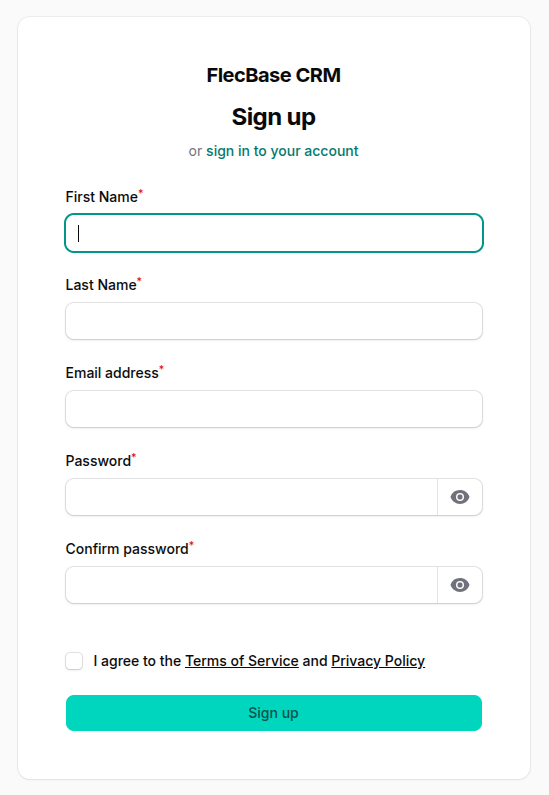
1
CRM — 2 minutes

Create your account

Head to app.flecbase.com and click Sign Up. Fill in your name, email, password, and choose a workspace name — this is the name of your business or team (e.g. "AutoPro Motors" or "Smith Plumbing").

Enter your details. Use your primary business email. This will be your login for both the CRM and the mobile app.
Name your workspace. This is your company or team name. It appears in the CRM header and is visible to your team members.
Submit the form. You'll be logged straight into the FlecBase CRM — your web-based command centre.
Registration form
Registration Form
Your workspace comes pre-loaded with default field definitions, subtypes, and relationship types so you can start entering data straight away.
2
Android — 2 minutes

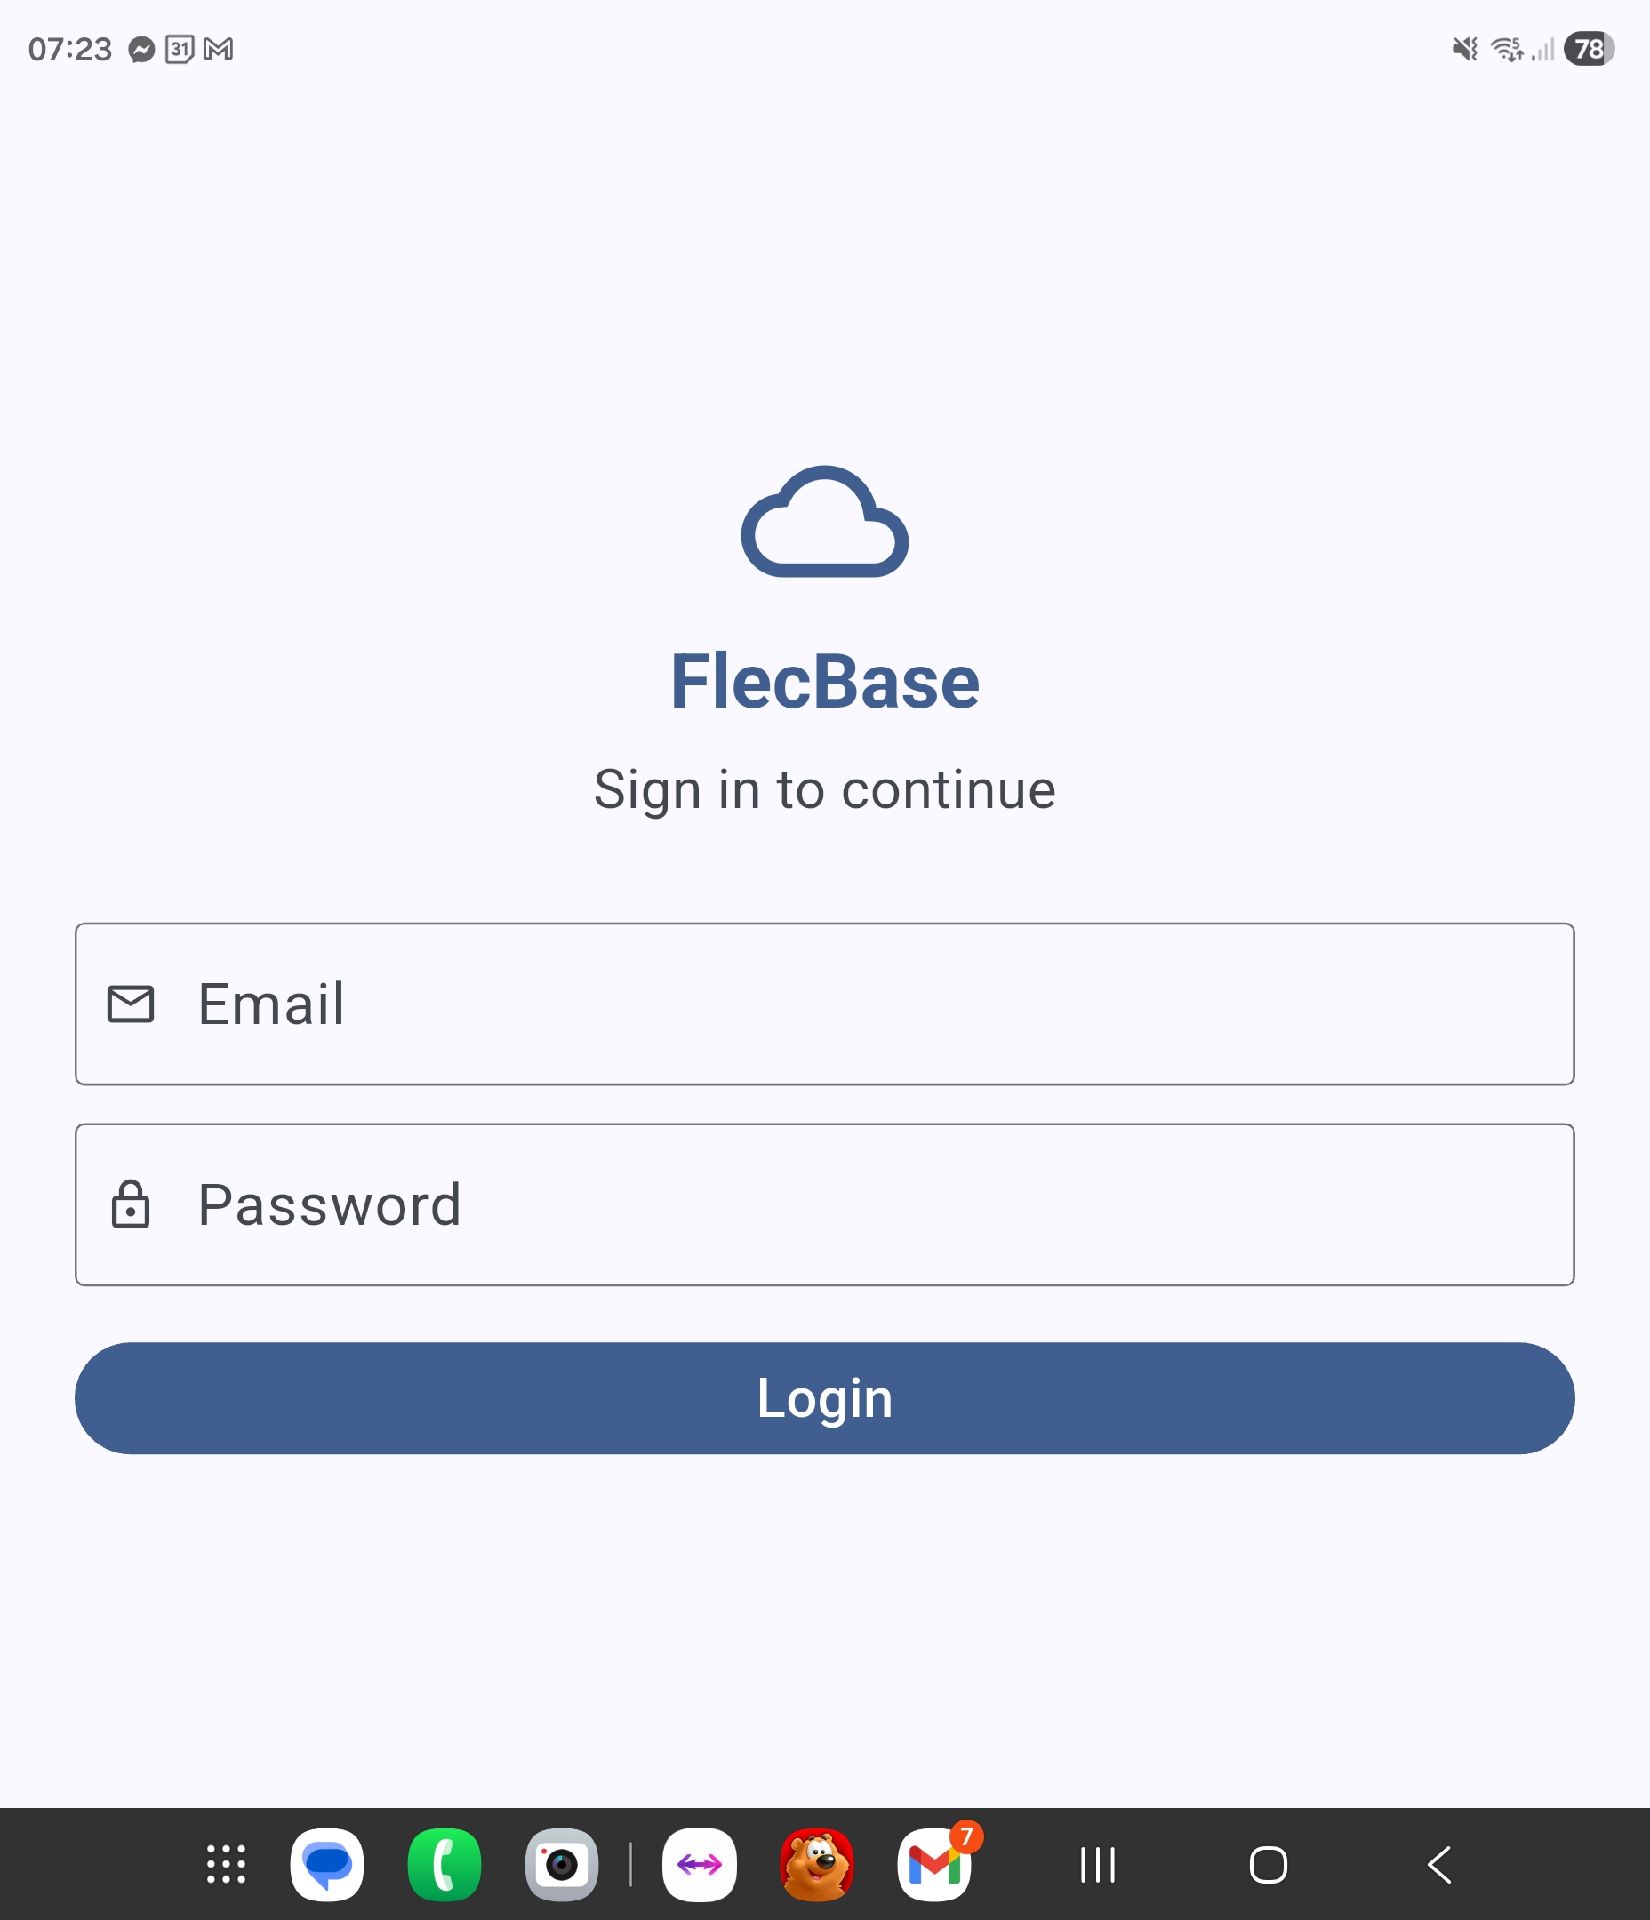
Install the mobile app

FlecBase is built for the field. Download the Android app so you can capture data offline, take photos, scan QR codes, and sync when you're back online.

Download the APK. On your Android phone, open www.flecbase.com/install.html in your browser. Tap Download.
Allow installation. Android will ask you to allow installing from this source — tap Allow or Settings → Allow from this source.
Install and open. Once installed, open FlecBase and log in with the same email and password you registered with.
Select your workspace. If you only have one workspace, you'll go straight to the dashboard. If you have multiple, pick the one you just created.
App login
App Login
Empty dashboard
Empty Dashboard
FlecBase works offline. Any records you create without a connection will sync automatically when you're back online. The app is currently Android only — iOS is coming soon.
3
App or CRM — 3 minutes

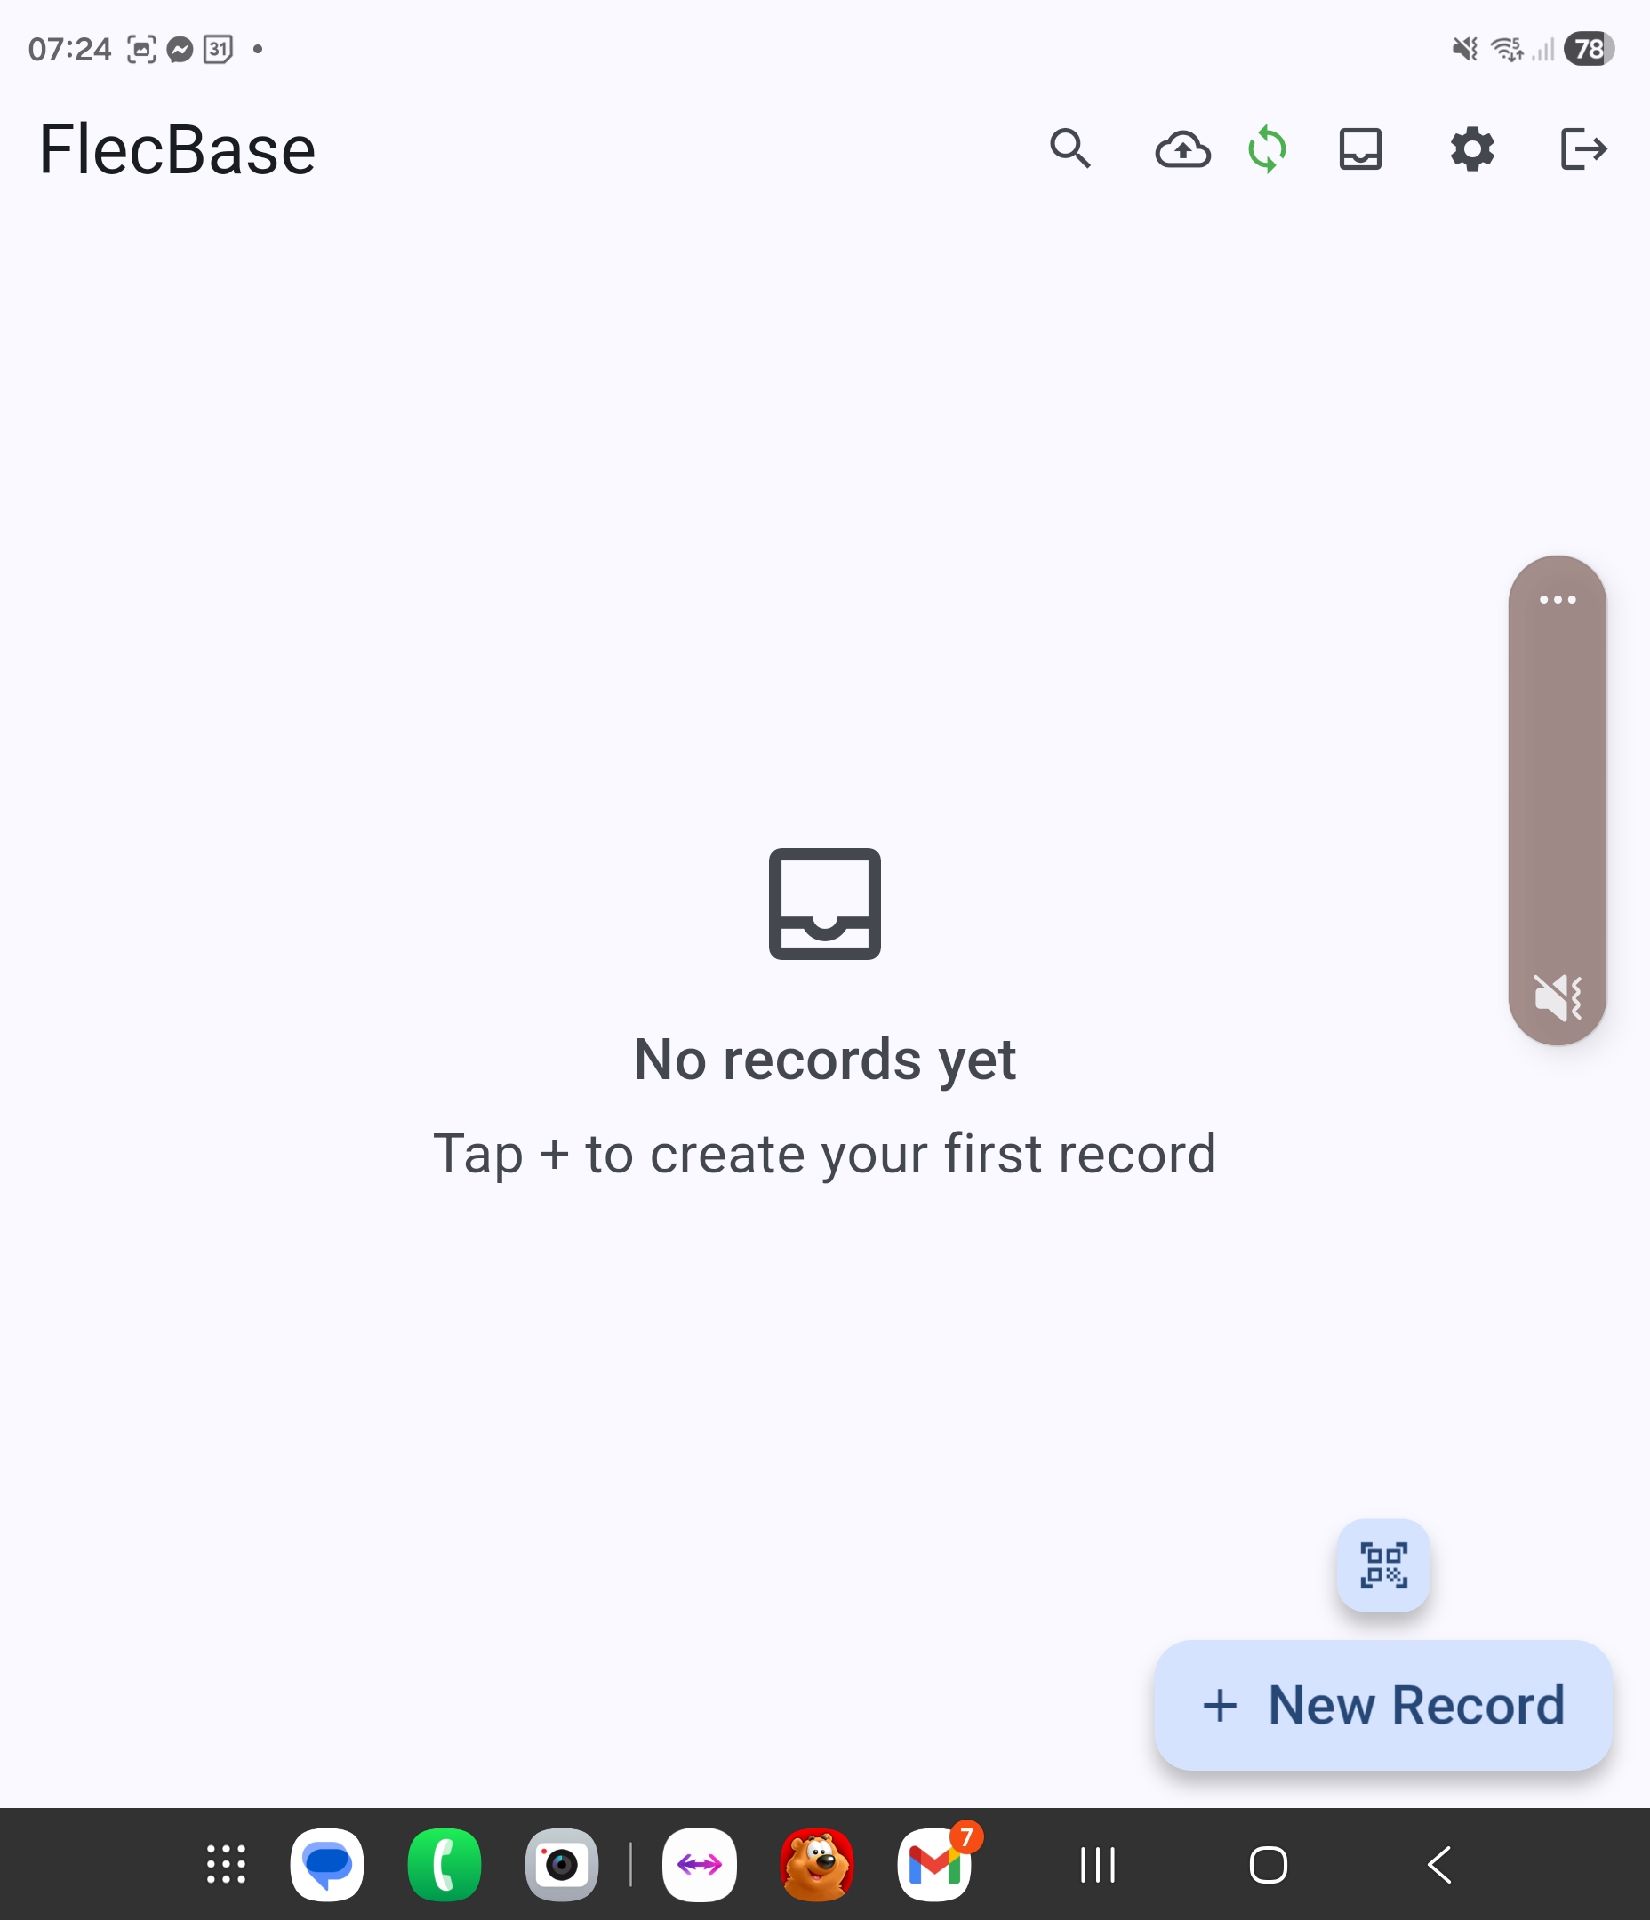
Create your first person record

Let's start by adding yourself. Create a Person record using an alternate email address — for example, your personal email — so you can later test the invite feature without conflicting with your admin login.

Tap the + button on the app dashboard (or click People → New in the CRM).
Select "Person" as the record type.
Fill in the details. Enter your first name, last name, and an alternate email address (e.g. your personal Gmail). Add a mobile number, job title, and any other fields you'd like.
Save the record. In the app, tap the Submit button that appears at the bottom. In the CRM, click Save Changes.
Use an alternate email here — not the one you registered with. You'll use this person record later to test the "Add as Field User" invite feature in Step 12.
4
App or CRM — 2 minutes

Create your organisation

Now create a record for your business. Organisations are the top-level container for everything — people work for them, assets belong to them, and work records live underneath them.

Tap + → Organisation (or CRM: Organisations → New).
Enter your business details. Company name, trading name, ABN, industry, website, phone, and address.
Save the record.
5
App or CRM — 1 minute

Link the person to the organisation

FlecBase uses relationships to connect records. Let's link the person you created (yourself) to your organisation.

Open the Organisation record.
Navigate to the Relationships tab (in CRM) or tap the link icon (in app).
Search for and select your Person record. Choose a relationship type like "Employee" or "Contact".
Save. The person now appears as a linked record under the organisation.
Relationships are bidirectional. Once linked, you'll see the organisation on the person's record too. Records form a tree: Organisation → People → Assets → Work records.
6
App or CRM — 2 minutes

Create an asset

Assets are things your organisation uses — vehicles, equipment, buildings, tools. Let's create one and link it to your organisation.

Open the Organisation record and tap + → Asset to create a child record. (Or create from the dashboard and link manually.)
Enter asset details. Name (e.g. "2024 Toyota Hilux"), serial number, make, model, category, purchase date — whatever applies.
Save. The asset is now linked to your organisation.
7
App or CRM — 1 minute

Link the asset to the organisation

If you created the asset as a child record from within the Organisation, it's already linked. If you created it from the dashboard, link it now the same way you linked the person in Step 5.

Open the Organisation record → Relationships.
Link the asset with a relationship type like "Owns" or "Operates".
You now have a simple hierarchy: Organisation → Person + Asset. In production, you'll build deeper trees — assets linked to inspections, incidents linked to people, orders linked to organisations, and so on.
8
App or CRM — 5 minutes

Upload files and images to all three records

Every record in FlecBase can have files attached — photos, documents, manuals, compliance certificates, anything. Let's add some to each of your three records.

Open your Person record. Go to the Files tab (CRM) or tap the camera / file icon (app). Upload a profile photo and a document (e.g. a PDF licence or certification).
Open your Organisation record. Upload a company logo and any relevant documents.
Open your Asset record. Upload photos of the asset (front, back, odometer, any damage) and a document like a manufacturer manual or warranty certificate.
In the CRM, you can Edit a file to set its Image Role: Default (avatar/masthead image), Gallery (visible in the gallery view), or None. Long-press an image in the app for the same options.
9
App or CRM — 3 minutes

Add notes to all three records

Notes are timestamped text entries attached to records — great for service history, visit logs, communication records, or anything your team needs to know.

Open each record (Person, Organisation, Asset) and navigate to the Notes section.
Add a note. Write something meaningful — for the person, maybe "Met on-site, confirmed training certificates current." For the asset, "Odometer reading: 45,230 km. Front left tyre worn."
Save. Notes are synced between the app and CRM and appear in the PDF report.
10
CRM — 2 minutes

Attach a prestart checklist to the asset

Prestarts are Pass/Fail/N/A safety checklists that your field team completes before using an asset. Let's attach one to your asset record.

Open your Asset record in the CRM.
Go to the Prestarts tab. You'll see options to attach a prestart template — select one of the default templates that was created with your workspace.
Save. The prestart is now available to complete from the mobile app whenever a team member scans or opens this asset.
11
App — 3 minutes

Complete the prestart on the app

Switch to the mobile app and complete the prestart you just attached. This is what your field team will do every morning before operating equipment.

Open the asset record in the app (pull to refresh if you just attached the prestart in the CRM).
Tap the Prestart button. You'll see the checklist items.
Go through each item — tap Pass, Fail, or N/A for each check. Add comments on any failed items.
Submit the prestart. It syncs to the CRM and becomes part of the asset's compliance history.
Prestarts are a core safety feature. In Australian workplaces, prestart records must be retained for a minimum period under WHS legislation. FlecBase retains all prestart and inspection records accordingly.
12
CRM — 2 minutes

Download a PDF report

FlecBase can generate a professional PDF report for any record — including its linked records, files, images, notes, and prestart history. Let's generate one for your asset.

Open your Asset record in the CRM.
Click "Download PDF" — you'll see options to choose which content to include.
Select what to include: images, notes, files, prestart completions. Tick the ones you want.
Download. The PDF generates with your record details, uploaded images, notes with timestamps, and any prestart history — ready to email to a client or file for compliance.
+
CRM — 1 minute

Invite a field user

Now let's see how you'd bring a team member on board. FlecBase has two user types: Staff (full CRM + app access) and Field Users (app only — they can capture data in the field but don't access the web CRM).

Open the Person record you created in Step 3 (the one with your alternate email).
Click "Add as Field User" in the record header. FlecBase will send an invitation email to the person's email address.
The invited person receives an email with a link to download the app and set their password. Once they log in, they can see records shared with them and capture data in the field — but they won't have access to the full CRM.
Field Users can download the app and log in, but they cannot access the CRM. They'll see a friendly notice page if they try to visit the CRM URL. This is by design — Field Users are for data capture in the field, not office administration.

You can manage team members and change roles at any time from the Team page in the CRM sidebar.

Need help? Contact us at support@flecbase.com
Previous Documentation Menu Next Next Steps